What we’ll create in this part:
- JSON file to hold the data necessary to display and filter your images
- The base React App.js component and its related CSS file
Create Your JSON Data File
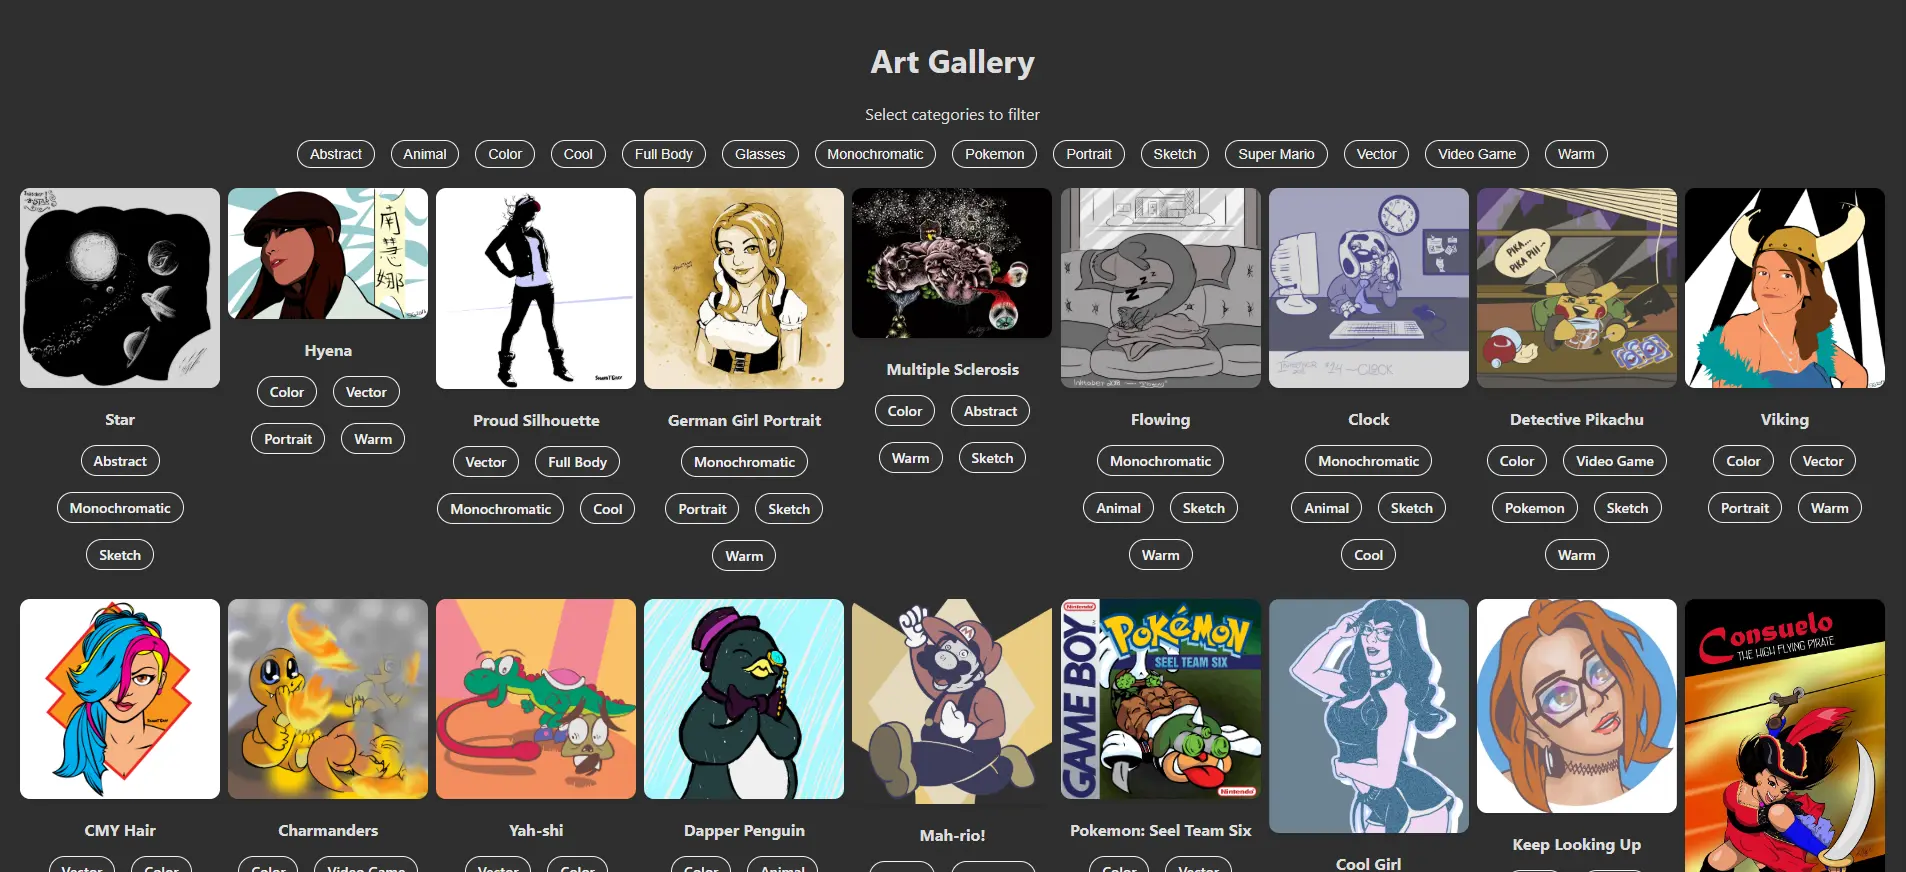
For this app, we will use a JSON (JavaScript Object Notation) file to store all the information needed to display and filter our images and artwork. Open your src folder, create a new file and name it images.json. Each image will have 3 key/value pairs: src for the relative location of the image, a categories array to list the image’s filter tags (filtering will be covered in Part 4), and a title that, well, gives the image a title.
[
  {
    "src": "/images/image1.jpg",
    "categories": [
      "Color",
      "Vector",
      "Warm"
    ],
    "title": "Image One"
  },
  {
    "src": "/images/image2.png",
    "categories": [
      "Color",
      "Raster",
      "Cool"
    ],
    "title": "Image Two"
  },
]
Important! Be sure to place all your images inside the public/images folder. This app will not accept images from outside sources.
Repeat the pattern for all of your images, adding your own category tags. Everything inside { and } defines your image object and each key/value pair will come into play later in Part 3 where we will build the individual components and Part 4 where we will apply filter logic to the app.
Clear Out the Defaults
In your src folder, open your index.css file and delete all the CSS code. This style sheet should only contain the general styles of your app – the base typography, colors, buttons, links, etc. Your components will be styled in separate file that will be covered next. These are the styles I am using (feel free to style your app however you like):
index.css
body {
  margin: 0;
  font-family: -apple-system, BlinkMacSystemFont, 'Segoe UI', 'Roboto', 'Oxygen',
    'Ubuntu', 'Cantarell', 'Fira Sans', 'Droid Sans', 'Helvetica Neue',
    sans-serif;
  -webkit-font-smoothing: antialiased;
  -moz-osx-font-smoothing: grayscale;
  background-color: #2f2f2f;
  color: #ddd;
}

code {
  font-family: source-code-pro, Menlo, Monaco, Consolas, 'Courier New',
    monospace;
}
Next, open your App.css file and delete all its contents. These styles will affect everything contained in your App.js component as well as all of its children components (covered in Part 3). Since we haven’t built anything in the App.js file, simply leave App.css blank for now.
Finally, open your App.js file and clear all its contents as well. Now we’re ready to start building our app.
Set the Stage
In your App.js file, add the following code:
function App() {
  return (
    <div className='App'>
      <h1>Art Gallery</h1>
    </div>
  );
}

export default App;
Here, we simply added a top-level heading <h1> tag inside a <div> container.
Every component lives in a single HTML container, most commonly a <div> element, as shown here. In React, you must use the className attribute to list the classes that will be styled within your App.css file.
Go back to your App.css file and add the following styles:
.App {
  text-align: center;
  padding: 20px;
  min-height: 100vh;
}
Next, open your index.js file. This is the entry point for your app and the top-most component. Update the contents to the following:
import React from 'react';
import ReactDOM from 'react-dom/client';
import './index.css';
import App from './App.js';

const root = ReactDOM.createRoot(document.getElementById('root'));
root.render(
  <React.StrictMode>
    <App />
  </React.StrictMode>
);- The first 4 lines import all the necessary packages and files that will be used in index.js and your app as a whole.
- Next, set the const root to the “root” element found in your index.html file.
- Finally, render your app (shown here as the <App /> tag) and append it to the root element.
In the next part, we’ll explore React components further and build our own components that will quickly and dynamically create the contents of your Art Gallery app using the images.json file you created.
Leave a Reply