Dev Level: Beginner to Intermediate
Tech Used: Git Bash, Visual Studio Basic, React JavaScript, CSS, NPM, Create React App, JSON
Introduction
I always wanted a stylish, functional place for my random sketches, paintings and digital art. Something that is more permanent than any social media black hole. I also wanted a fun, engaging reason to learn how to build browser-based apps with React.
So, with a little research, a good amount of trial & error, and the patience and willpower to push through the usual “developer’s frustration”, I managed to build this project I can be just a little bit proud of.
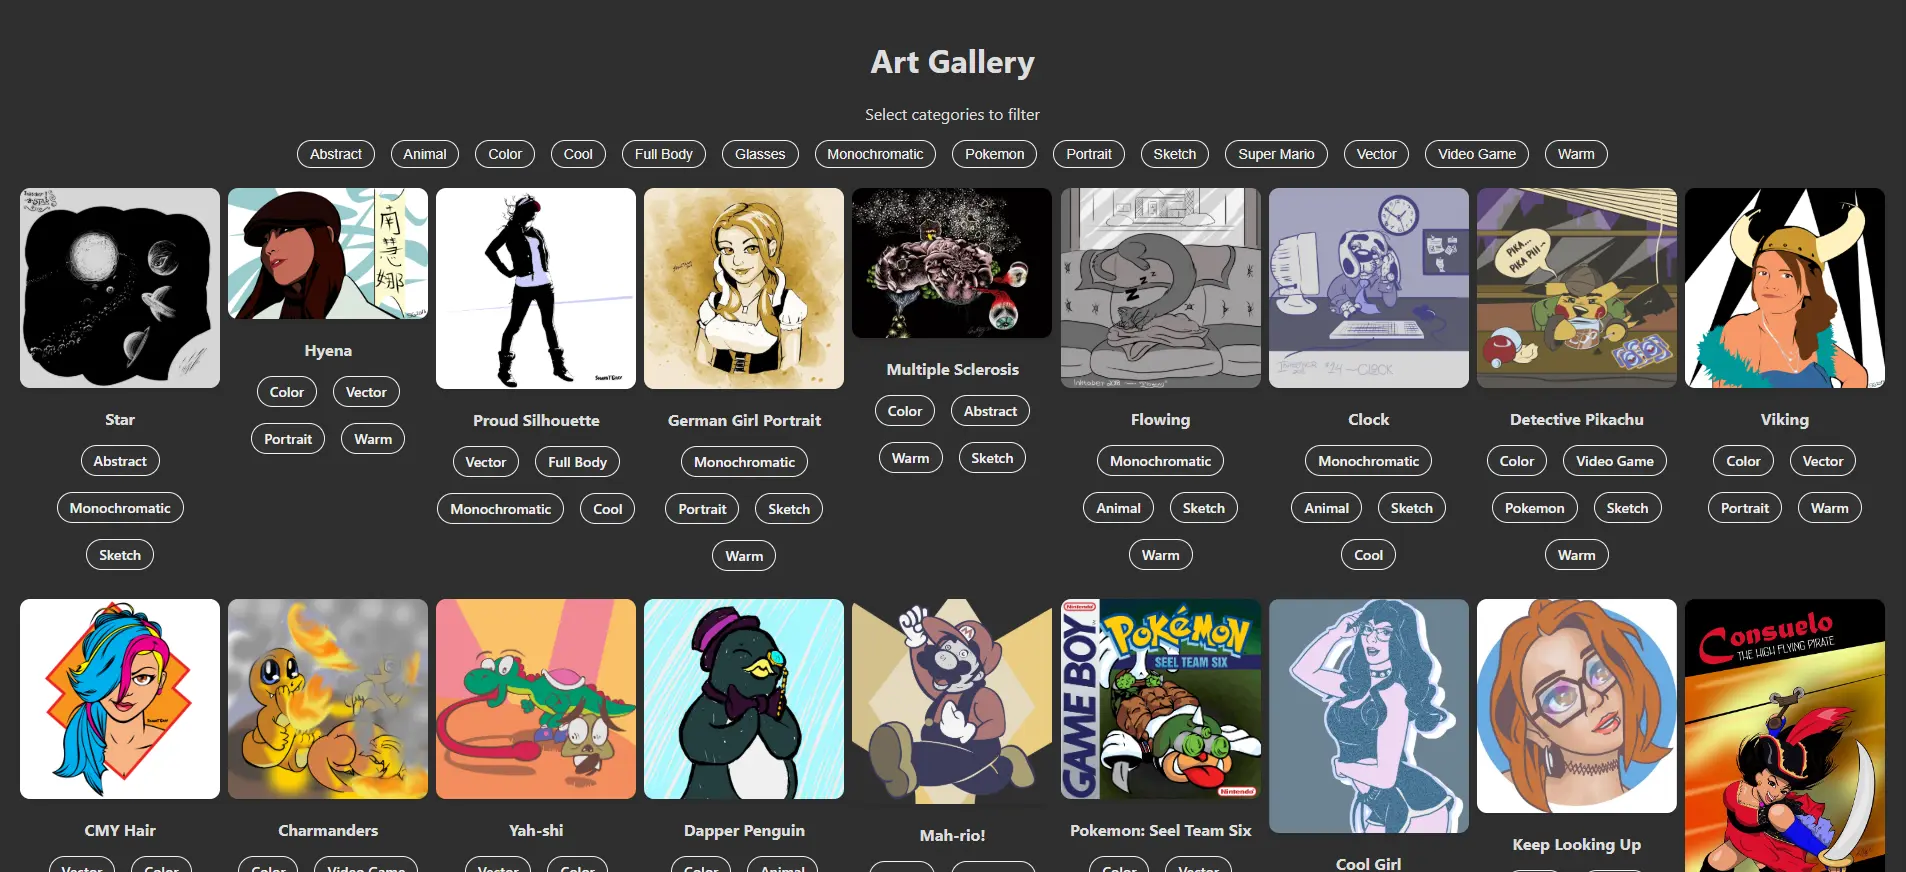
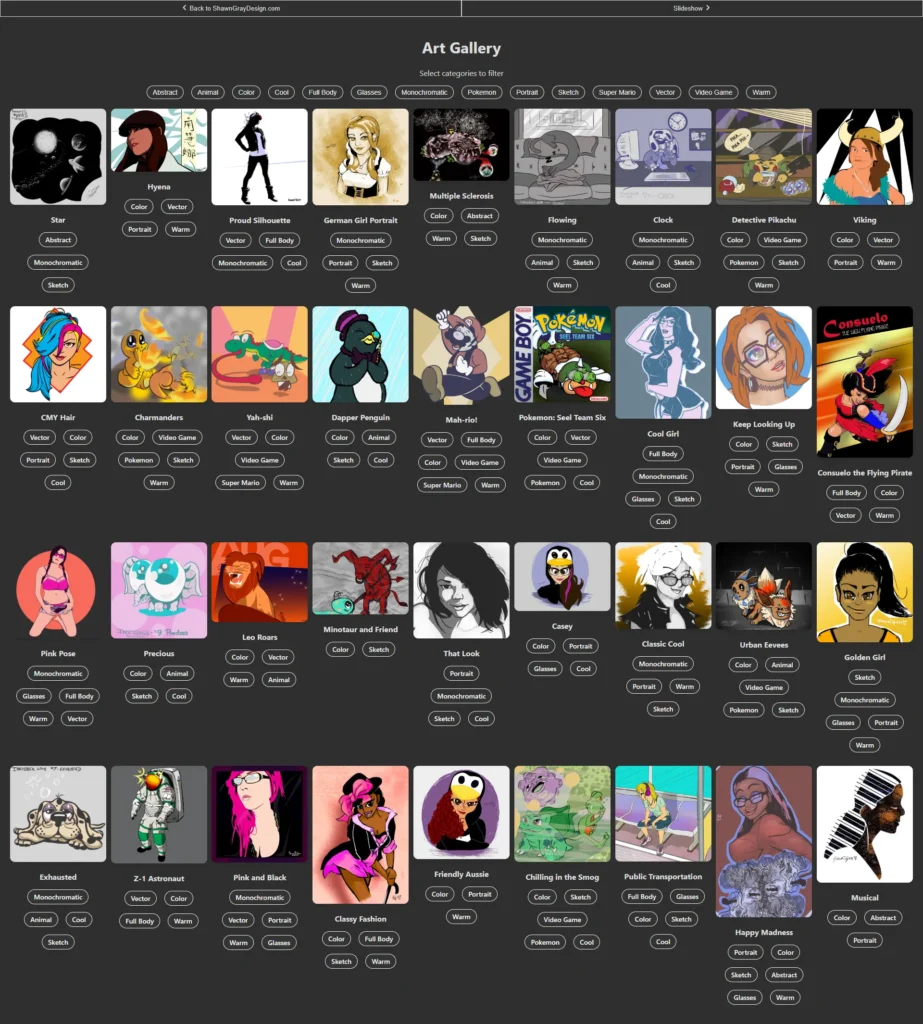
Here’s an example of what we’re building:
Features
- Displays images in a flexible grid that responds cleanly to the user’s device.
- Details for each image (title, category tags, and image URL) are contained in a separate JSON file for easy editing.
- Each image contains a series of tags that can filter the gallery based on the tag selected.
- The gallery houses a full list of filter buttons. This list is dynamically built based on the tags listed under each image. These tags are alphabetized for easier readability.
- Click an image to view it in a full-screen lightbox style modal popup.
- For a bit of extra fun, the images are shuffled every time the gallery is loaded.
This app also includes a dynamic slideshow that will be covered in a separate tutorial.
Setup
For command-line actions, I use Git Bash and Node Package Manager (NPM) inside Visual Studio Code. With these 3 installed, open Visual Studio Code, access a Git Bash Terminal, and enter:
npm -vThis command ensures you have npm installed. Then, navigate to the directory where you want your project to live.
cd path/to/folderI chose to use the Create React App package for this project. This option is perfect for single-page React apps with little to no unnecessary bloat or overhead. Vite, Vue, and others are a bit too bulky for what we’re building.
Start your project by typing:
npm install -g create-react-app
npm create-react-app react_art_gallery
cd react_art_gallery
Create React App will build a starter version of your project with a directory that would look like this:
react_art_gallery
├── README.md
├── node_modules
├── package.json
├── .gitignore
├── public
│   ├── favicon.ico
│   ├── index.html
│   ├── logo192.png
│   ├── logo512.png
│   ├── manifest.json
│   └── robots.txt
└── src
    ├── App.css
    ├── App.js
    ├── App.test.js
    ├── index.css
    ├── index.js
    ├── logo.svg
    ├── serviceWorker.js
    └── setupTests.js
Next, remove the unnecessary files.
public folder
- logo192.png
- logo512.png
- manifest.json
- robots.txt
src folder
- App.test.js
- logo.svg
- serviceWorker.js
- setupTests.js
Add an images folder to the public folder. This is where you will place all the images you want displayed in your gallery.
To make this project even more uniquely your own, be sure to replace the favicon.ico with your logo or symbol.
Now your project directory should look similar to this:
react_art_gallery
├── README.md
├── node_modules
├── package.json
├── .gitignore
├── public
│   └── images
│   │   └── all your images go here
│   ├── favicon.ico
│   └── index.html
└── src
    └── App.css
    ├── App.js
    ├── index.css
    └── index.js
What’s Next?
We will first set up the JSON file that will hold the data that will be fed into the gallery app. Then, we will begin building the app’s several components and styling each component with its own CSS.
Leave a Reply